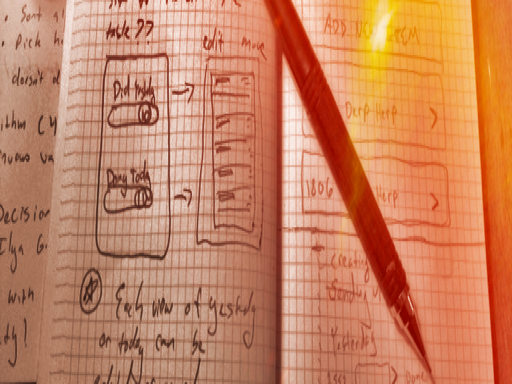
Apps have blueprints too

Good apps don’t happen by accident. The work of many talented people goes into the design, planning, testing, programming, marketing and support of each top selling (and some not top selling) apps. But as a programmer, sometimes we can be tempted to jump right in and start coding up a storm. We’ll figure it out as we go along, right? Planning and design are two required skills for any app developer. When I say ‘design’ I don’t mean mad Photoshop skills. A pen and paper will work. If you can draw boxes and write your own name, you’ll do just fine.
What Will Your App Do?
Before you begin, try to summarize the goal of your app in a single sentence. Something like “Allow cats to post pictures of goldfish to Facebook” or “Display the weather forcast for multiple locations in a delightful, novel way.” Make sure to specify your audience. No app is for ‘everyone’; don’t be afraid to get specific. Even go so far as to create several different personas for your imaginary users.
For Example… George is 24, works at KFC and walks to class. He usually forgets to bring an umbrella or a jacket. What would George like in a weather app ?
Solving a Problem
Does your app solve a problem? Would the imaginary user gain enough value and use your app based on this single sentence? Distilling your app into one sentence is tough, but necessary. This one sentence is the anchor which maintains focus during the process.
What Features Should I Build?
The first version of any product doesn’t have to be a massive undertaking; Rome (and Facebook) were not built in a day! If customers find value in the minimal featureset, you know you’re onto something.
List out as many features as you can think of. When you’re done, go through the list and remove half. Then remove half again. The remaining features should be unique and directly add to the app goal.
Let’s get Drawing!
With our winnowed down list of features in hand, let’s begin drawing some mockups and piecing together the screens. Put your phone or tablet on the pad of paper and trace it’s outline. Then, (if applicable) draw a rectangle inside the outline to roughly approximate the visual screensize. tadaa! Paper device!
To add an element of interactivity to your mockups, I recommend PopApp
Don’t be afraid to throw away your first few drawings; it’s just paper! Imagine how hard it would be to throw away several working view controllers …
Solicit Feedback
The most important thing a designer can do is solicit feedback from as many sources as possible. Apps are designed for people, after all! Show your designs to friends, colleagues, people on the street. Aggregate their feedback and make changes to your mockups. Maybe even re-think the product entirely! Go through at least two feedback loops; your design will be better because of it.
Get Coding
With the product purpose in mind and user validated mockups, it’s finally time to fire up Xcode and begin coding. The level of confidence when coding with a referenceable, user reviewed design is astounding. Coding will take much less time, as many of the corner cases and functionality decisions have already been accounted for by spending time upfront on design.
In Closing
Shut the computer and take out a pen and paper. Observe people and how they interact with the problem you’re trying to solve. Interview users and learn their painpoints. Plan before you code, your users will thank you.